Make a paper plane fly better
Fold a basic dart, compare repeated flights and discover what one small adjustment does.
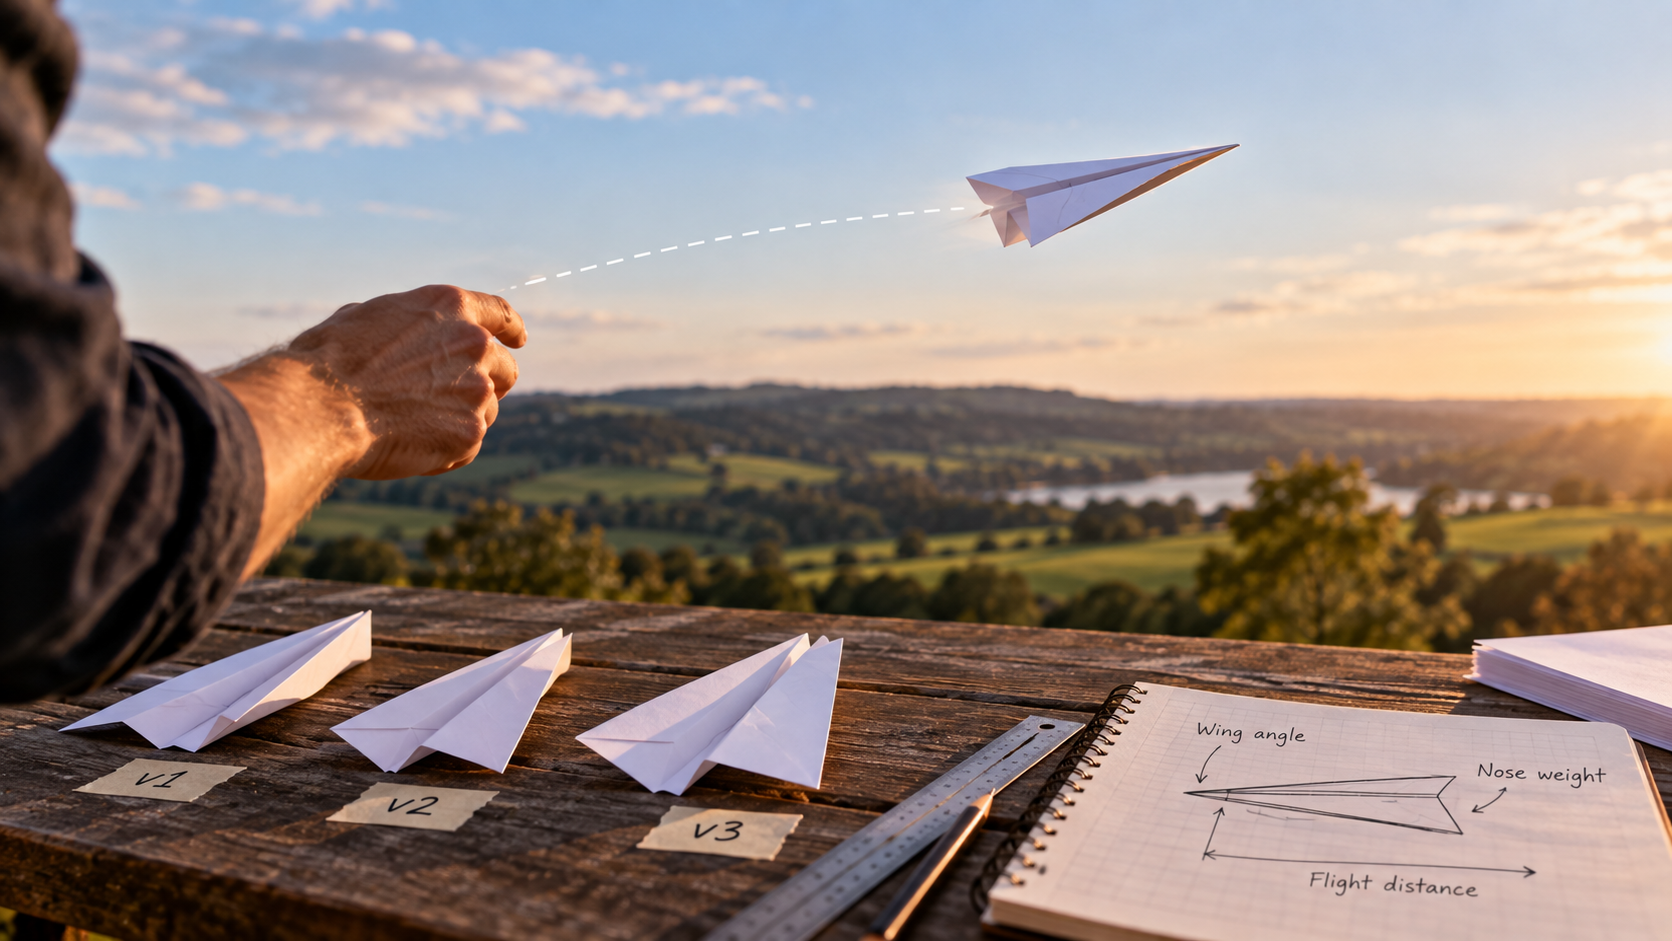
Start with the flight you actually get
A paper plane can be deeply disappointing for something that cost nothing. You crease the wings, give it a confident launch and watch it make an urgent appointment with the carpet.
The usual response is to throw the next one harder. Try something more interesting: keep the plane, watch what it does, and change one thing.
You need ordinary A4 printer paper, a clear indoor space and something to mark a starting line. Use the same kind of paper throughout. Keep flights away from faces, pets, stairs and anything breakable. A corridor with people using it is a poor test range.
Fold a plain dart
Put the sheet on a table in portrait orientation, with a short edge nearest you.
- Fold it in half lengthways, bringing the long edges together. Press the crease and open it again.
- Fold the top two corners towards the centre crease. Their top edges should meet along it, making a pointed roof at the far end.
- Fold each new sloping outer edge towards the centre crease once more. You now have a longer, narrower point. Keep the two sides as alike as you can.
- Close the plane along the original centre crease, with the folded layers inside.
- Make a wing by folding one outer side down. Run its crease from the nose to a point about 2cm above the bottom of the folded body at the rear. Turn the plane over and match the other wing to it.
- Open the wings until they sit approximately level, leaving the folded body underneath as a grip. Look straight at the nose and check that neither wing is noticeably twisted.
Take time over symmetry. An experimental aircraft is allowed to be scruffy, but you want its two sides to begin with roughly the same idea of where they are going.
For an alternative with printed fold lines, NASA provides paper-plane plans. Choose one design and stay with it for the comparison.
Give the plane a fair chance
Mark your launch line. Hold the body beneath the wings and use a gentle, approximately level throw. Choose one person to launch throughout, from the same position and height.
Make five flights before altering anything. Note where the plane first touches the floor, rather than where it slides to afterwards. You can measure distance, but watch the path as well. Does it dive immediately, climb and fall, or turn consistently to one side?
A single beautiful flight can be luck. A handful tells you more about what the plane usually does. If one launch hits a wall or catches a draught, note that rather than quietly counting it as a triumph or disaster.
Make one small change
Try a tiny, matching upward bend along the rear edge of each wing. Start with only a few millimetres of paper and a slight bend. Keep everything else the same.
Now repeat the five flights. Compare the general pattern and the middle distance in each group, after ordering the five distances from shortest to longest. That helps one unusually good throw avoid becoming the whole story.
Changes to a wing's rear edge can alter a paper plane's path. NASA's designs demonstrate this through movable control surfaces. What happens to your dart also depends on its folds and launch, so let the flights answer the question rather than demanding a particular result.
If it climbs sharply and drops, reduce the bend and try again. If it turns, inspect whether the wings and bends still match. Don't add a new crease, change the launch angle and switch paper at once: you won't know what mattered.
Keep the useful failure
A worse flight is still a result. Flatten the change, check the plane and see whether its earlier behaviour returns. Eventually the paper will become tired and distorted; make a fresh one when that happens.
The satisfying moment isn't necessarily a spectacular distance. It is watching the next flight do something you expected, because you noticed what the last one was doing.
Then, naturally, somebody else will insist theirs goes further. You now have a starting line.