Build an Airfix Spitfire
Choose a small Spitfire kit, follow the instructions and give yourself time to finish your first model.
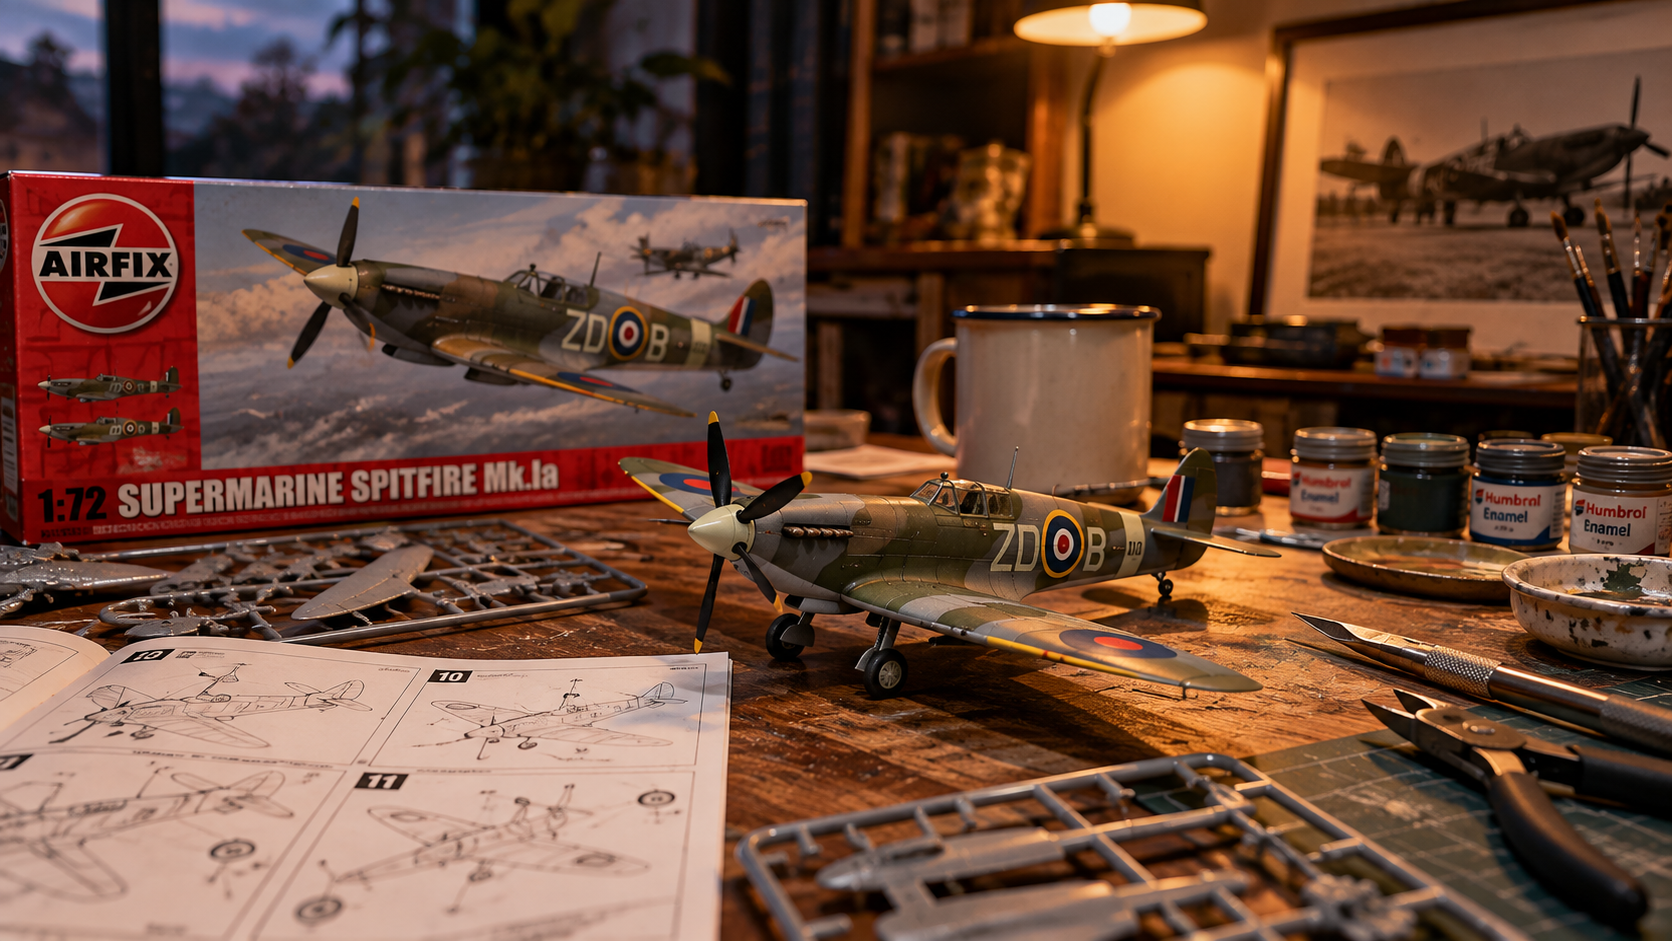
Get the aeroplane out of the box
There is a satisfying point in a model build when two bits of plastic stop looking like components and begin to look like an aeroplane. With a Spitfire, the wings do much of the work. You recognise it before the paint is on.
That is a perfectly good reason to build one. You don't need a theory about mindfulness or a display cabinet already waiting. A small object which you made is enough.
For a first attempt, look at Airfix's 1:72 Supermarine Spitfire Mk.Vc Starter Set, product A55001. It is sold with acrylic paints, adhesive and a brush, alongside the kit and painting guidance. Confirm the contents of the box you're buying, because similar-looking releases can differ. Airfix's Spitfire building material.
Give yourself a place to work
Add sprue cutters, a small sanding stick or fine file, tweezers, a water pot, kitchen paper and something to protect the table. A shallow tray helps stop a tiny part making a permanent home in the carpet.
Read the instructions before removing anything. Parts are identified on the plastic frames, called sprues. Cutting everything off at once gives you a much more difficult puzzle than the one you bought.
Follow the adhesive and paint labels, including ventilation and handling guidance. Keep products away from children and pets. If a hobby knife is needed, use a suitable cutting surface and cut away from yourself; cutters and a sanding stick can handle many beginner tasks without one.
Give the build several short sessions, with drying time between them. The instruction sheet, rather than an ambitious promise to finish tonight, gets to set the pace.
Fit before glue
Remove only the parts needed for the current stage. Clip carefully, leaving a little material at the attachment point if cutting flush risks damaging the part. Smooth that small remainder gently.
Bring the pieces together without adhesive first. This dry fit tells you which surfaces meet and whether a small nub is stopping them sitting properly. If something seems wrong, check the part number and orientation before reaching for extra glue.
Follow the kit's order for the cockpit and anything that will become inaccessible inside the fuselage. Paint those areas when directed, then let them dry. Keep joining surfaces clean where the instructions require a plastic-to-plastic bond.
Use adhesive sparingly and give a joint time to set before asking it to support another part. The model's first structural test need not be your impatience.
Leave delicate pieces until the instructions call for them. Aerials, propellers and undercarriage deserve a little protection from the hands doing the rest of the work.
Paint the shape you have
Stir the paint and follow its thinning guidance. Several light coats are usually easier to control than one thick covering. Allow each coat to dry before deciding it needs another.
Use the supplied scheme for the camouflage and colours. You can spend a future build researching variations, weathering and the precise appearance of exhaust stains. For this one, aim for a recognisable, tidy aircraft with a clear canopy.
Masking can help with straight boundaries. For the canopy, follow the manufacturer's adhesive guidance and keep glue off the transparent surfaces. A thumbprint in clear plastic is a surprisingly effective personal signature, though probably not the one you wanted.
The markings finish it
Cut out one decal at a time and follow the instructions for soaking and placement. A wet brush can help position it gently. Don't pull a marking from its backing before it is ready to slide.
Check the orientation before blotting away excess water. Give the decals time to settle and dry, and follow the instructions if you choose to add a compatible protective finish.
Then put the Spitfire somewhere you can see it. The camouflage may be slightly uneven. One marking may sit a fraction off. You'll know which bit you'd do differently next time.
You'll also have a Spitfire where, a few evenings earlier, there was a box of parts.